
We know that getting on track is always the stiffest thing, so in this article, we will tell you how to change a dirt bike tire. And before you get on track, make assured you have all the necessary Products you require.
How to Change a Dirt Bike Tire The Hard Way?
Essential Tools
You will need succeeding tools
- Four tire pedals.
- A valve exclusion tool.
- Some tire lube.
Compulsory Tools
Depending on the conditions under which you’re shifting your tire, there are some vibrant tire tools that you’ll need to get the job done professionally. They contain;
- Dirt-gloves
- Adaptable height motorcycle stand
- Valve Core Remover/ Valve stalk puller
- Iron spoons/ Bead Rollers/ Drop levers
- Spanner
- Rim guards
- Tire/locomotive Paste
- Tire Pressure Device
- Motion Resilient/ Bead buddy
- Security Glasses
For lube, you can use talc powder or snoopy water. You can also get tire lube that’s made for altering tires. We recommend using Yamalube. Occasionally I run through shifting the tire without the tire lube because these tools aren’t obtainable if you are out riding and get a flush in the middle of nowhere. It’s stiffer to do but, indeed, costs learning. So to evade the ache of reckoning it out yourself, here is our 36 point, step by step procedure for shifting a tire or substituting an inner tube.
Also, take a guise at great YouTube videos that show you how it’s done.
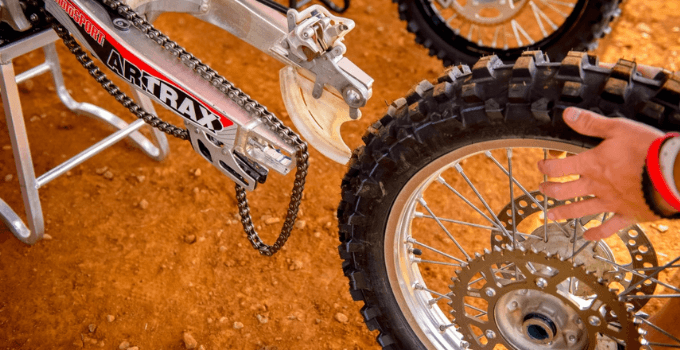
STEP 1. Detach the pin nut. If it is stiff to come off, don’t be scared to step on the tug and use your body weight to break the stiffness.
STEP 2. Pull out the pin. Jerk the pin out some ways, so the chain adjuster chunk comes out of the smack arm.
STEP 3. Take away the chain, Shove the wheel onward, so the chain goes loose, and then confiscate the chain from the cog.
STEP 4. Buzz up the wheel, so you take its weight and then glide out the axle with your other hand. To keep the axle in a not dangerous place, slide it into the headscarf.
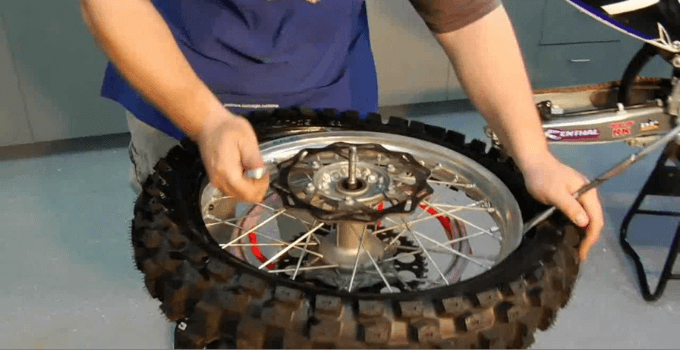
STEP 5. Once the wheel is permitted, lay it down on the topmost of another tire so you have a fixed vile to work on. If you don’t have another tire, use amplified ground like grass or a dense carpet so the disc and notch don’t get spoiled when you are standing on the wheel.
STEP 6. Eradicate the controller stem buff and put it in a harmless place, so you don’t misplace it.
STEP 7. Slacken off the edge lock but only adequate to get the tire off the rim.
STEP 8. Confiscate the regulator with a regulator exclusion device.
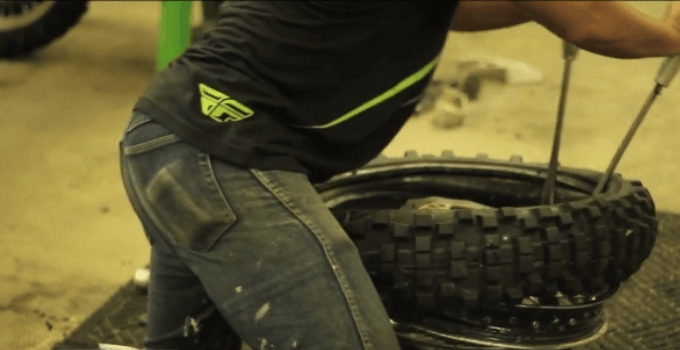
STEP 9. Stand on the tire and walk your weight around the tire until it breaks away from the edge. Then, swirl the tire over and do the same thing on the other side using your hands until the whole tire has moved off the rim.
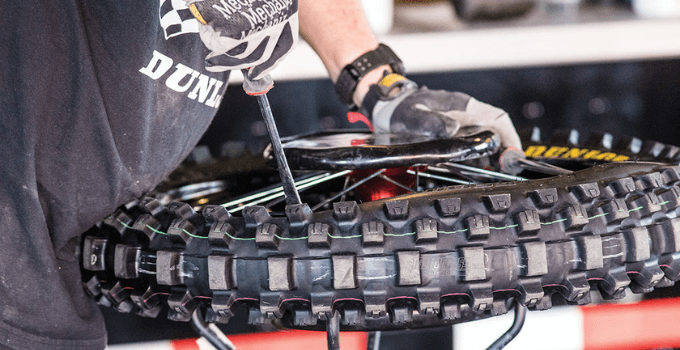
STEP 10. Get a tire pedal and insert it between the rim and the tire. Place it about 4 rods away from the regulator. When using tire pedals, be sensible not to tweak the inner tube.
STEP 11. Carry on implanting the continuing 3 levers around the wheel close together and fold the 4th pedal under the last brake disc so it halts.
STEP 12. After you have put in all the tire pedals, you should be capable of pulling one side of the tire off the edge by hand.
STEP 13. Confiscate the internal tube. If you are not changing the tire and only swapping the inner tube, move to STEP 18.
STEP 14. Stand the tire up, place 2 tire pedals between the edge lock on the cog side, and shove them through to the other side of the wheel.
STEP 15. Lever the tire entirely over the rim lock and endure to change the pedal across, opening the tire over as you go.
STEP 16. Use the rubber hammer and the pedal together to keep striking and opening the tire off the rim.
STEP 17. After the tire has entirely come off the edge, grasp the new tire and tip the talcum powder around the inside of the tire. The talcum powder stops tube pilfering.
STEP 18. Expand and insert the tube into the new tire (or the remaining one). Put on more talcum powder onto the tube. If you are connecting a new tire, make sure the new tire is circling in the right way. To work this out, check the indicators on the side of the tire, as they will tell you the precise way. Also, some tires have a stout plug on the side that shows where the edge lock is situated. Make sure you line up this advert with the rim lock.
STEP 19. Grasp the rim and tire and line them up to put the regulator through the rim and save the controller nut. Make sure the cog side of the wheel is fronting out.
STEP 20. Shove the rim down back onto the tire and work as much of the disc side back onto the rim by hand as possible.
STEP 21. Use a pedal to get the cog side of the rim totally onto the tire.
STEP 21. Place the wheel back down with the disc fronting up.
STEP 22. Use the tire pedals again to pedal the tire back onto the rim, being more cautious not to harm the inner tube. Start on the reverse side of the rim lock and gradually function your way around.
STEP 23. Use your foot and the tire pedals collected to get the tire back onto the rim.
STEP 24. As you get to the last segment of the tire around the rim lock, shove and clasp in the rim lock as you pedal the last piece of the tire onto the rim.
STEP 25. Now that the tire is back on the rim, the rim bolt should be touching in and out quickly.
STEP 26. Re-install the regulator into the tube.
Step 27. Seal the tire up to about 30PSI to enlarge the tire and make sure that the tire has exploded back onto the rim. If it doesn’t use more air pressure and recoil the tire on the earth, it should pop into the situation.
STEP 28. Stiffen up the rim bolt and decrease the air pressure down to a riding level of about 17PSI
STEP 29. Roll the wheel back onto the swiping arm of the bike, making sure that the disc brake is detached so the disc can glide in.
STEP 30. Grasp your axle and slide it midway back onto the wheel.
STEP 31. Repair the chain by retaining it onto the lowest unit of the cog, then gradually revolving the wheel until the chain directs itself onto the tooth.
STEP 32. Shove the axle the rest of the way in and roughly tauten up the axle buff.
STEP 33. Place a screwdriver into a cog of the sprocket and roll the wheel rearward, so the chain trolls over the screwdriver. This will shove the wheel in contradiction to the chain adjuster chunks.
STEP 34. Grasp some tension on the rear wheel, so the screwdriver stays between the chain and cog to grasp the axle while you stiffen the pin nut.
STEP 35. Pump the back brake lever to squash the brake wads back into location.
STEP 36. You are done! Go grasp yourself a cocktail!

What to Expect When Changing a Dirt Bike Tire
Irrespective of whether you challenge the tire change yourself or with a mentor supposed to meet at least one if not further of the following glitches:
- Getting both edges of the tire bead slack
- Fitting the internal tube or mousse
- Getting the tire around the edge
- Seating the droplet
- Appropriate settlement of the air regulator
- Strained inner tubes
Attacking these tasks needs some straight gears. You will need:
- Tire spoons or irons
- Bead Buddy times 2
- Lubrication
- Tire stand
Most riders use bubbly water or bouquet oil, which aids the tire error over the rim. The tire spoons and bead buddy work as added hands and arms. The tire stand makes the whole procedure relaxed.
Tube & Tire Removal
Entirely eradicate the Schrader valve from the valve stem. Even if the tube is ripped or stabbed, having the valve open is still perfect. If you don’t have a regulator stem tool, let in as much air as possible. If you have a valve stem buff, eliminate and protect it.
- Slacken the rim lock nut, but do not remove it. Give the rim lock a push to make sure it’s free.
- With the brake propeller up, break the tire bead by descending decisively on the rim’s reverse sides.
- Start eliminating the tire on the opposing side of the rim lock.
- Use lubrication as required. This is where I use my rim protectors because this is the stiffest part of exclusion.
- Work the first spoon between the bead and the rim lip up and shove your tire away from the rim. Do your best to interfere past the bead seat. If you hurt the rim center, you can grit it to even; the bead seat is a little more work.
- Take your second spoon, lip down, knob your tire, and put on weight, but do not attempt to pull the tire over the rim yet.
- With your free hand, drive down on the conflicting side of the rim to droplet the tire into the rim midpoint.
- Now peer the tire over the rim.
- Work your way around the rim in both instructions, finishing at the rim lock.
- With the first side detached, jerk the old tube out of the tire.
- Flip your wheel over and begin the reverse of the rim lock, gilt eliminating the tire from the rim.
- This time, practice your spoons with the lip up and pry the rim out of the tire.
How To Change a Dirt Bike Tire Without Scratching Its Rims?
To defend your Edge from any cut symbols connected with your iron spoons, you’ll have to shield the rim with your rim guardians precisely at the facts where you’ll insert the spoons. A pair of such guards or two will work just well as you can keep implanting them where your spoons interact with the edge. This is particularly significant if you always like your rims even and glossy.
Once you’ve been able to break the bead, you’ll have to flip over your tire and do the exact same thing for the other side. The benefit of working with more than one couple of Rim masks is that you don’t have to keep eliminating and implanting them in new locations where you’ll insert the iron spoons. You’ll work quicker with at least two Rim guardians.
How Much Does It Charge To Change a Dirt Bike Tire?
Altering the tires on your dirt bike is essential if the tires are older than 1-year and show distinctive marks of wear. The price to change both tires can range from $190 – $390, depending on your bike and the kind of tire.
How Do You Mount A Dirt Bike Tire By Hand?
How do you alter a tire yourself? Underneath, I’ve broken down how to change a tire in simple steps.
- Find a Harmless Place to Pull Over
- Check for Resources
- Untie the Drag Nuts
- Lift Your Vehicle Off the Earth
- Eliminate the Drag Nuts and the Tire
- Place the Extra Tire on the Car
- Swap the Drag Nuts
- Subordinate Your Vehicle and Start Jerking
Conclusion
To wrap up the whole discussion, I can say that I have done my best to elaborate on every step very briefly. I hope you will not face any difficulty while altering your tire. If you still have any queries or questions, feel free to contact us. We are here to assist you.
![Best Tips To Prevent Dirt Bike Arm Pumps [Must Read]](https://dirtbikecoach.com/wp-content/uploads/2022/07/Best-Dirt-Bike-Movies-7-1-211x150.png "Best Tips To Prevent Dirt Bike Arm Pumps [Must Read]")
")


")