

Plastic gas tanks are used in boats, dirt bikes, touring bikes, semi-trucks, and many other vehicles. A dirty gas tank can harm the fuel pump and filter. So irrespective of what vehicle you own, you should learn how to clean a plastic dirt bike gas tank can pay off. Over time these tanks become wrinkled with grease. This is not good as the material harms your fresh fuel.
As cleaning a plastic gas tank can prove complicated for many, you will be able to clean your gas tank correctly with little knowledge. If you don’t know how to clean a plastic gas tank properly, you have come to the right place as this article will cover the steps that can be taken to clean a plastic gas tank. If you can follow them, you can confidently clean them very rapidly. So, let’s get started with it.
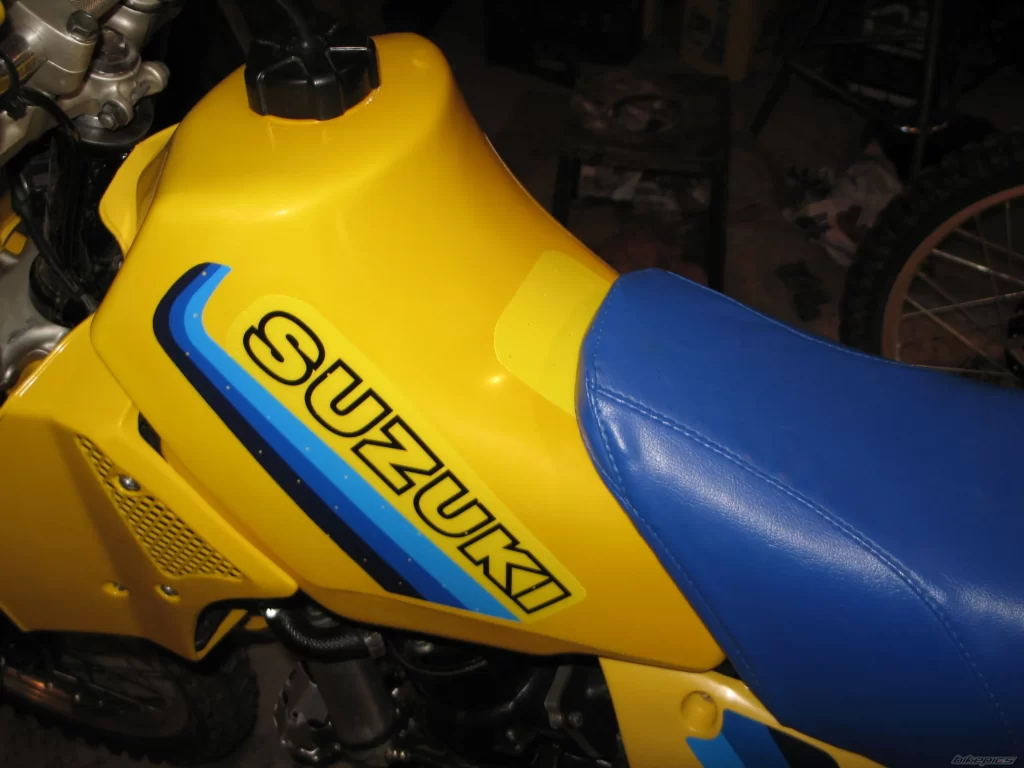
How To Clean A Plastic Dirt Bike Gas Tank Properly? (Step By Step Guide)
1. Detach The Tank
First, disconnect the tank from the motorcycle or other gear before cleaning. You cannot entree it or clean it safely without separating it. You need to remove the tank and unbolt the screws or bolts to be fully secured. Also, you need to draw the fuel line and spark plugs for lawnmowers and similar items. For motorcycles, remove the petcock, gas cap, and all hoses that may be attached to them.
2. Cover The Fuel Line
You need to seal the fuel line whenever it is detached. If you don’t seal it, then the remaining petrol line cannot come out of the line, resulting in problems for the engine. Take some smooth-faced lock to close and attach it to the line near the carburetor. Now distinguish the line and the carburetor and permit the line to sewer in the vessel.
Do you know how to clean a dirt bike carburetor?
3. Vacant The Tank
If there is any fuel left in the tank, pour it out. If you can’t get everything out, use a pressure hose or a similar device to eliminate fuel from the tank. Now allow the tank to dry fully. You cannot clean the engine correctly without drying any residual fuel. So, you need to make sure that you get all the fuel out of the tank.
4. Observe The Tank
At this stage, you will now need to monitor the tank. Any defects, rust, or other problems can pose a latent safety hazard or damage your engine, so you must check. Leave the tank in open daylight so you can see inside. If you need more light, light a penlight in the tank. Pay special devotion to corrosion tints, wear, or flaws in the tank’s components. Be sure to check the fuel filter to make sure it is clean. If it is not, it should be swapped.
5. Spray High Pressure Water In The Tank
We have already reached the last step, and in this step, you have to spray water into the tank. At the same time, do not announce numerous chemicals such as soap which can cause glitches for your engine. Set your hose and sprayer to a high pressure setting. It would help if you pointed the sprocket down at different places in the tank. If you have enough corrosion in your tank, consider using a pressure gasket or blaster.
Do you know how to clean a dirt bike air filter?
Different Methods To Clean Dirt Bike Gas Tanks
Besides these easy steps, we have compiled a list of methods for cleaning plastic gas tanks. These are as follows:
Method 1: Cleaning With Isopropyl Alcohol
First, make sure you use all the fuel within the plastic gas tank. If you want to clean it but still have some fuel in it, handover it over to other ampules for the time being. The cleaning procedure cannot be performed if fuel is present within the tank. For fluctuating the gas to a different container, you will need a large bucket and a clear hose. Make sure you don’t use a water hose.
Step 1. Fill Isopropyl Alcohol Into The Tank
You can get isopropyl alcohol for this purpose. Get an adequate amount of it as per the size of your plastic gas tank. Fill the plastic tank with it and close the lid. Leave the tank alone for a while. It will melt all the sticky and gluey remains within the tank.
Step 2. Pump Out The Alcohol
After letting the alcohol sit in the tank for around 30 minutes, you can extract it:
- Use a syphon pump to pump out the alcohol.
- Please attach it to the plastic tank and draw out the alcohol.
- Observe the grease and remains blushing out of your tank.
Method 2: Cleaning With Baking Soda And Vinegar
Mud in plastic gas tanks is a very common problem. Here is how you clean it out with white vinegar and baking soda.
- You need to add one cup of baking soda to 2 cups of vinegar inside the plastic gas tank.
- After that, fill the tank with water three-quarters of the way.
- The cleaning solution will then break the bond of tacky residues and will melt the buildups.
- Let the solution settle down inside the plastic gas tank for around one hour.
- Use a siphon pump or right flush out the solution from the plastic gas tank.
- Now pour clean water into the plastic tank and lock the lid.
- Twirl it to eliminate any residual baking soda and white vinegar.
- Rinse out the tank at least three times or until the water stops changing color while you flush it out.
- Now, leave it under the sun to dry fully before reuse.
Do you know what are the best dirt bikes for wheelies?
Method 3: Cleaning With Muriatic Acid
It is nothing very strong Hydrochloric acid obtainable commercially and also found in all our stomachs. We endorse wearing gloves in this method as the acid is extremely destructive. Here’s how to clean lacquer out of a plastic gas tank using muriatic acid.
Step 1. Clean As Much Dirt As You Can
Before you can go ahead and clean the varnish buildup within the plastic gas tank, you must use either the first or second method to clean the tank out. A basic clean up with those methods will get rid of loose varnish. If there’s a lot of it in the tank after cleaning, perform the next steps.
Step 2. Clean Varnish With Muriatic Acid
- Fill the plastic gas tank with water. Leave some space for the acid.
- Add ½ gallon muriatic acid to the tank.
- Now move or shake the tank around for a few minutes.
- Let the solution settle down within the plastic gas tank overnight.
Step 3. Flush The Gas Tank
The third step is to flush the gas tank carefully to extract the varnish. Here’s how you do it:
- Use a siphon pump to flush out the tank.
- You will see the varnish come out with the solution.
- Fill the tank with water again.
- Close the lid and stir the gas tank to clean the scums of muriatic acid.
- Flush out the water if the water is not clear. There are still residues of the cleaning solution.
- Repeat the process until you observe no change in the colour of the water while you flush it out.
- Leave the tank to dry under the sun before using it again.
Step 4. Remove Varnish Using Sea Foam
In case you want to try out an alternative method to clean the tank, use seafoam:
- Add 2 cups of vinegar and 1 cup of baking soda to the plastic tank.
- Add water to prepare a solution for diluting the varnish within the tank.
- Use seafoam preparation to soften the varnish or sludge within the tank.
- Flush it out of the system with the use of a siphon pump.
- Clear out the residues of the baking soda and vinegar solutions with clean water.
- Let the tank dry before reprocessing it.
Do you know how to adjust the hydraulic clutch?
Safety Issue While Cleaning Plastic Gas Tank
When it comes to sustaining an electronic device, you must also take care of your safety. You need to wear some safety gear to guard yourself when you clean the plastic gas tank. Here is all the safety equipment:
- Gloves
- Safety goggles
- Other protective clothing
- You also need to ensure that your garage is well ventilated when cleaning.
Bottom Line
Cleaning a plastic tank is a devastating task, but that doesn’t mean it’s unbearable. You can easily get the job done by following a few simple steps. We have tried our best to explain in detail how to clean a plastic gas tank in our article. We hope you will be able to clear it up by following our steps. In case of any queries, feel free to contact us. For more information visit our website.
Thank You All!


